If you go underground for a long period of time, you need to carry some water. It might be better to drink cave water instead, allowing you to travel more lightweight – especially with long trips. But is it safe to drink?
Is cave water safe to drink? Not all cave water is safe to drink. Since you can get seriously ill from infected water, you should always filter the water. Pools are often times more dangerous than water dripping from the ceiling, but in no case is dripping water a guarantee for safe water.
What Dangers Lurk In The Water?
Cave water, and all water for that matter can have a lot of contaminants. Water can get contaminated due to agricultural runoff (pesticides), chemicals, liquid waste from septic tanks, and biologicals.
Agricultural runoff is water that gets from the farm into the ground water. It may contaminate drinking water by fertilizers, waste, pesticides, etc.
Biologicals can be all kinds of stuff we humans don’t like, such as carcasses and viruses.
Especially in caves, there can be high traces of agriculture.
You shouldn’t take a chance on water; bad water might make you severely ill. But if you at least filter the water, the chances of getting very are very small. So it pays of to just carry a simple water filter around.
The Trouble With Water
Water is hard to trace. Since it flows, you can only guess it’s origins. At the other hand, it’s easily contaminated, making it a high-risk high-reward kind of game. You depend on it for your survival, but you can also never be a hundred percent sure if there’s a dead animal upstream, spoiling the water.
So in these cases, context is everything. Be aware of your surroundings and know (or take an educated guess) where the water comes from. Is there a large agricultural farm above? Chances of pesticides getting in the groundwater are very high. Also, cities tend to pollute the water in the surrounding area.
The wrong kind of water can make you sick, and you don’t even have to drink it. I’ve read this one story online about a caver that went swimming in a flooded cave around NYC. He didn’t drink the water but went on an hourly vomiting spree for the next three days. He got sick by simple contact with the water.
Spotting bad water can be hard. Luckily, there are some ground rules for cavers and some signals to tell you the likelihood of water being drinkable or bad.
Where To Look For Drinking Water?
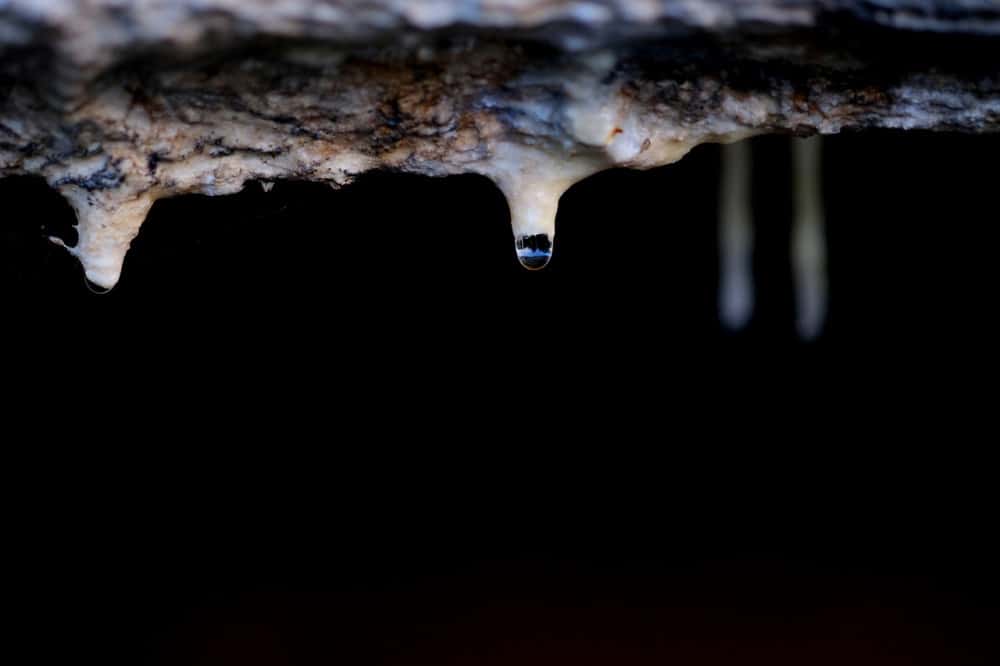
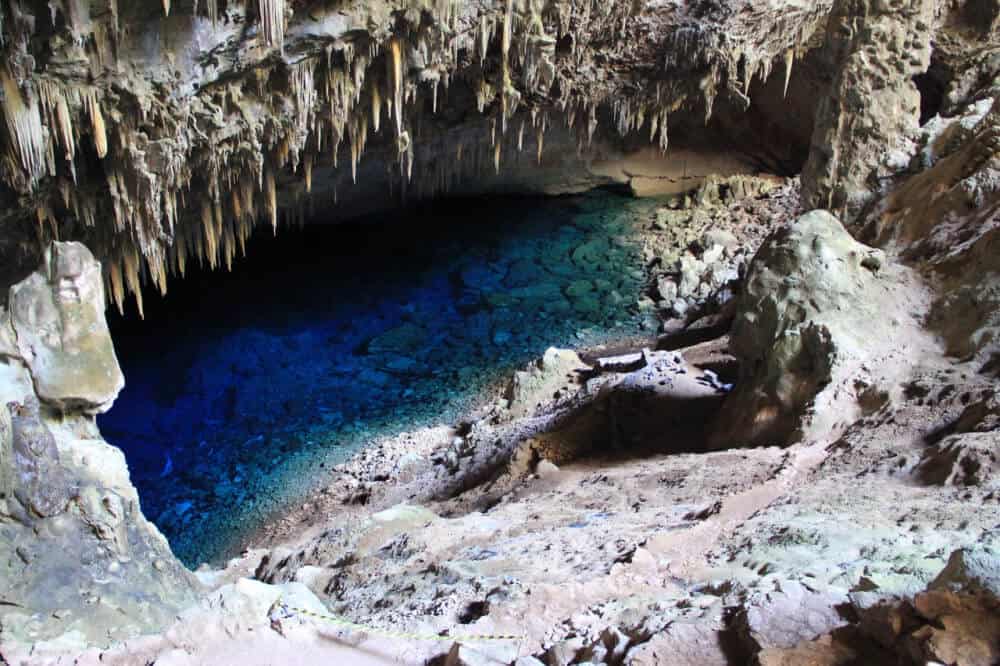
The best place to look for water in caves are drip pools, or water dripping off speleothems. These are preferential.
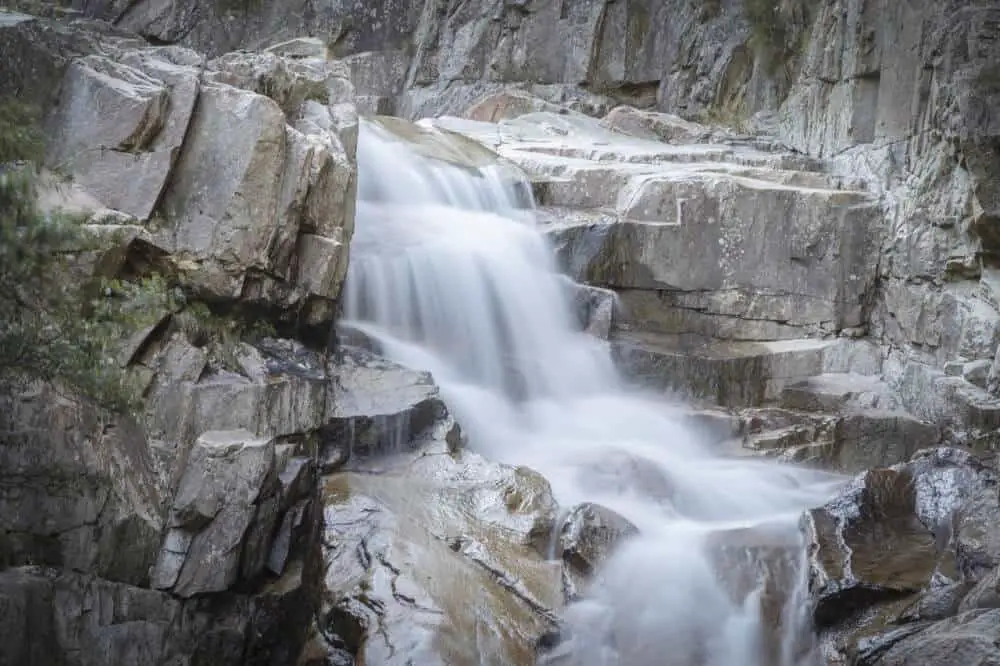
Dripping water however, has been filtrated by the rock and ground above, ensuring it’s cleaner than any ‘direct’ water. Streams haven’t been purified in any way; the stream could literally be rolling in directly from the city.
Though you can discuss how much filtration has been going on of course, since you’re most likely not miles underground, but just beneath the surface. It could be that the water dripped through the cracks just yesterday. So much for purification.
Flood caves are a no go since it’s difficult to tell what the floods have brought in. Residual waste and chemicals are very likely to build up in these caves.
If you can find the spring source, drink directly from it. This is the best way to ensure clean water.
How to spot bad water
If nothing grows in the water, it could be a sign of contamination. Beware of algae; if there’s a lot in there, I wouldn’t drink it. Most algae are not harmful. Some species are toxic though, such as blue/green algae, which develop best in still water.
But algae may die due to lack of nutrients, and it’s these dead algae that are bad for you.
Algae need sunlight to grow, so algae in cave water are almost certainly very dead.
Also, if a drip pool is near a bat cave, I wouldn’t drink it. Some pools get contaminated with bat and rat urine. Drinking this water could infect you with Weil’s disease, or Leptospirosis.
Leptospirosis is a particularly unpleasant disease, which induces flu-like symptoms, such as fever. However, during the second phase, it may result in more severe problems, such as kidney or liver failure, and death due to heart, liver, or respiratory failure.
How to spot good water
If you find any watercress in the pool, that’s a good sign. It doesn’t mean the water is pure and clean, but it’s better quality water for sure.
Some people say that snails are a sign of clean water. This is true to some extent: if the pool has a healthy ecosystem, snails will thrive. If it doesn’t, snails will die.
A bunch of snails is an indicator there isn’t any agricultural runoff present in the pool. Most pesticides we use are to deter slugs from eating the crops. So if there’s any of this stuff in the water, there wouldn’t be any snails there.
Though, snails do thrive on polluted ponds, eating the algae and using calcium to lay there eggs. They need this calcium, meaning they naturally thrive in acidic ponds.
Also, freshwater snails can carry a deadly parasite called schistosomiasis, ‘which is responsible for more than 200,000 deaths a year’. This parasite mostly lives in Asia, Africa, and South America.
So even good water should definitely be purified.
What Types of Filters Are There?
I won’t go too in-depth on filters, as I only want to give a quick overview of how you can tackle drinking caving water.
Pump filters or physical filters – very cheap, but won’t protect against viruses.
Chemical disinfection – cheap and effective against both bacteria and viruses.
There are two types of tablets: iodine and chlorine dioxide.
The iodine tablets are quick, easy, and cheap, but they aren’t as thorough as the physical filters or the chlorine dioxide tablets. It’s a great backup or last resort since it’s small and easy to carry. These tablets take only 30 minutes.
The chlorine dioxide tablets are more thorough: they also protect against Cryptosporidium. Though, protection comes at a price: you’ll have to wait four hours.
How To Filter Water? A Couple of DIY Methods
There are four types of purification:
- Sun / light treatment
- Filtering the water
- Treating the water chemically
- Condensation or distillation (we won’t do this, unfortunately!)
Filter the water
You should filter water at least with a ceramic and carbon filter. These remove bacteria and fungi. However, filtering properly can take a long time. To clear the water of all bacteria, you might need to filter for more than 4 hours.
Treat the water chemically
If you’re outside the US you should also treat the water with iodine before filtering. This will deactivate viruses. Treating the water will take little over 30 minutes.
Alternative methods for filtering
Cooking the water
If you don’t have any filters or chemical tablets on you, you could also cook the water. Cooking the water will kill pathogens (bacteria, viruses, microorganisms), making the water reasonably safe to drink. It’s very effective and very easy, though not as convenient as tablets or a filter. Simply boil the water for at least one minute.
Please note that the pathogens are killed by high temperatures. Thinner air reduces the water’s boiling point. This means water will boil at lower temperatures when you’re at high altitude. If so, make sure to boil the water for at least three minutes.
Emergency filter
If you find yourself in an emergency situation, you can filter the water by pouring it through a t-shirt or piece of cloth. This removes visible particles. Then let the water sit for a couple of minutes, allowing the debris to settle on the bottom. Then, pour the water through another filter. To be safe, you should also cook the water.
Creating a carbon filter yourself
You can create your own carbon filter, though it will be difficult to do so in a cave. Chances are you won’t have the required materials at hand there. Still, if you find yourself in an emergency and happen to have them, this is a great way to get clean drinking water.
To create a carbon filter, you need:
- charcoal
- two containers
- a cloth
… and then follow these steps:
- You can make charcoal yourself by making a fire and letting it burn out completely. Then stifle the fire by covering it up with sand. After a couple of hours, dig up the charcoal. I admit that making a fire in a cave isn’t very practical and probably impossible. But if you’re finding yourself in the Son Doong cave, there’s a subterranean forest which allows you to this just fine.
- Pinch a small hole in the bottom of the top container. This is your filtering container.
- Place your cloth in the bottom of the top container. Then, place your charcoal in the cloth and tightly tie the cloth around the charcoal. There you go, that’s your filter. Tight is the name of the game here.
- Then create a second filter, in the same way, using pebbles and sand. This pre filters large particles and keeps the charcoal fixed.
- Pour over the water and let it drip through your DIY filter. It should go through very slowly. If not, you need to tighten your filter.
- Repeat the filtering several times, until your water is nice and clear.