With no natural light deep within caves, photographers have amazing opportunities to paint stunning pictures with off-camera flashes and headlamps. Entrances, windows, and skylights often provide enough light to illuminate sizeable areas, especially on sunny days.
Some challenges you’ll face are pitch black environments, plain-looking colors, and small spaces. To deal with these and other obstacles, we’ll look at creative ways to eliminate them or use them to our own advantage.
If you are ready to get started caving, be sure to read my Beginners Guide and check out my recommended gear section.
How To Take Good Pictures In A Cave
Use a wide-angle lens, off-camera flash, manual focus, and a tripod. Adjust the shutter speed to 1% of the focal length to avoid blur. Shoot in manual mode. Open the aperture as much as possible to increase the exposure. Adjust the focus before shooting.
These are a few of the key components of taking good photos in dark caves. Now, let’s go over these settings and more in higher detail.
Advice For Taking Photos Of People In Caves
Use any opportunity to capture people in the photo to illustrate the scale of the scene. In a cave, a photo of some rocks at your feet can look similar to a room of rocks without something in the picture for scale.
Skylights can serve as spotlights for your subject without the need for a flash.
Don’t take photos of someone doing anything dangerous or you could lead someone else to do the same and possibly cause harm to themselves just for an exciting photo.
Don’t photograph someone who’s touching or leaning on cave artifacts like stalactites and stalagmites. These are just a couple of examples of what not to photograph to avoid promoting actions that the caving community would frown upon.
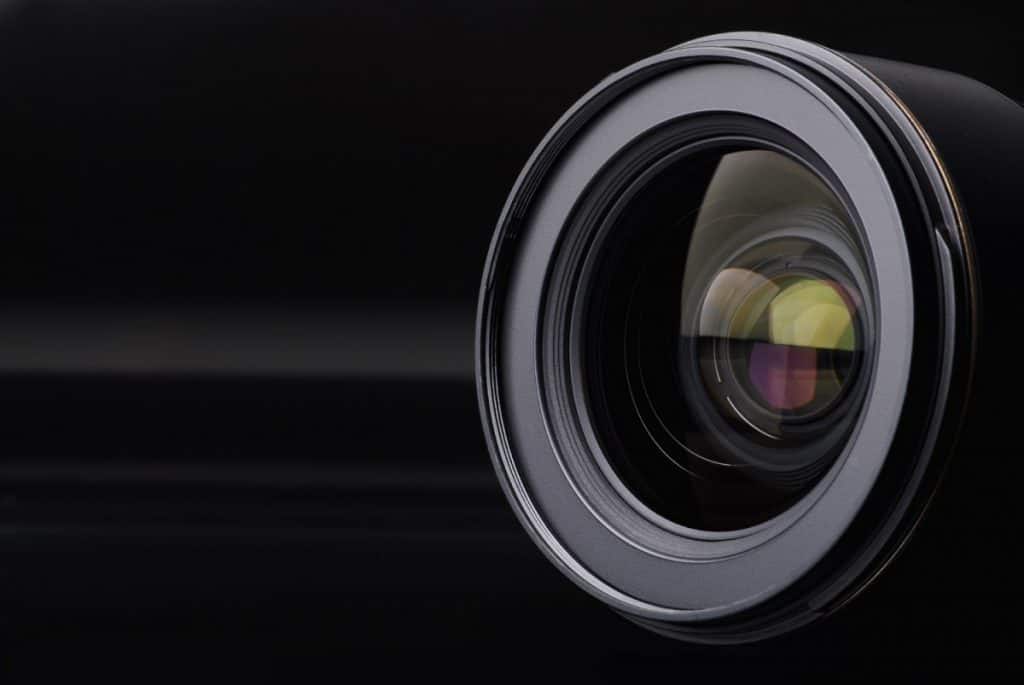
Take A Wide-Angle Lens
The primary reason you should take a wide-angle lens is that space is limited inside caves. You won’t always be able to take a step back to capture everything. That’s where the wide-angle comes into play. A wide lens can capture an entire room and make photos look more accurate in terms of how it would look if you were there in person.
A wide-angle lens will usually have a high depth of field. This will give you the opportunity to get close to certain objects while keeping most of the background in focus.
Get up close to the person in the frame or they’ll appear tiny with the wide lens.
Adjust The White Balance
The light inside caves often has a very strong color cast because it shines off the surfaces to illuminate the room. This light usually has an orange or brown tint to it. So adjust the white balance to get a variety of raw photos. You can also look through some white balance presets to get some good shots.
However, you can always adjust the white balance afterwards with no negative effects.
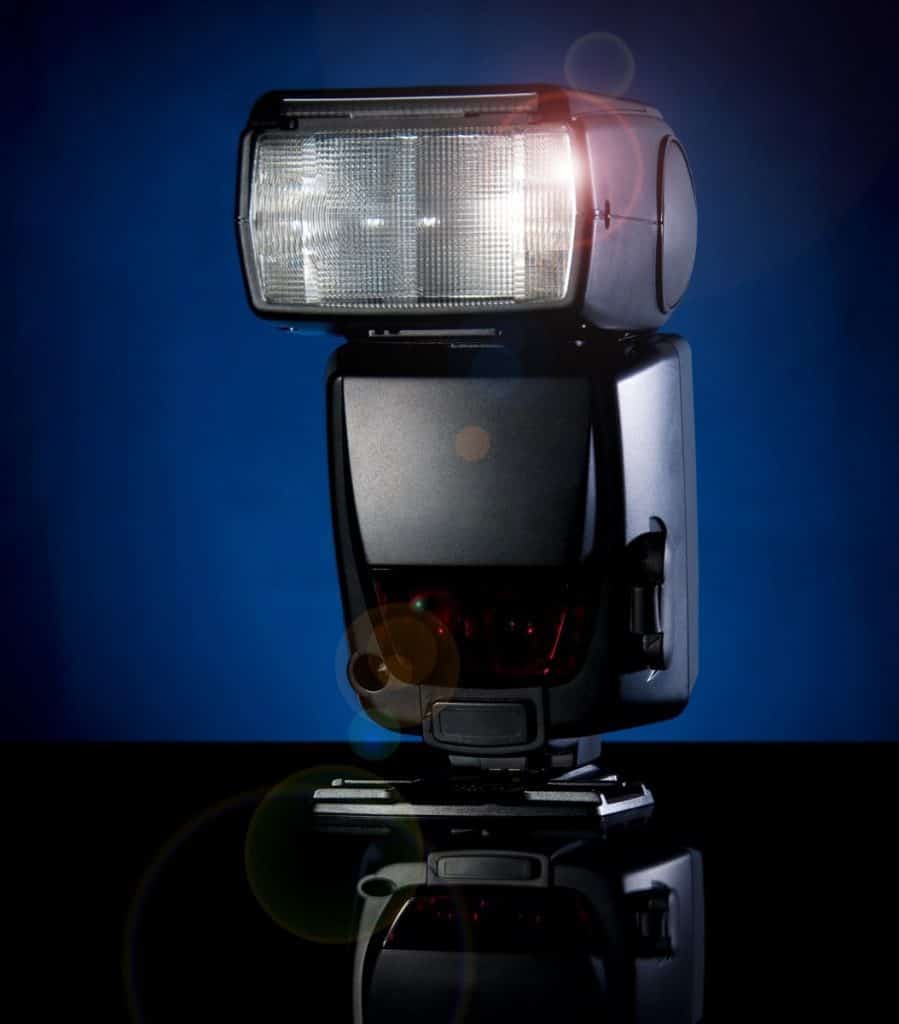
Use An Off-Camera Flash
Use an off-camera flash to give your photos more depth as it will cast shadows throughout the image. There will be times when there’s no natural light source and you’ll need headlamps and off-camera flashes to shoot in these conditions.
Using only your on-camera flash will make photos appear flat because shadows or cast behind the objects you’re shooting.
Also, 99% of built-on flashes don’t have the power to light up large areas and are almost useless inside caves. They’re more suited for close-up photography and only produce good results in dark environments if used alongside other light sources.
Off-camera lighting will make it possible to capture entire rooms inside the cave which wouldn’t be possible with headlamps or a built-in flash. If you have space for multiple flashes, they’ll help to capture even larger areas.
A flashlight will also make it easier to scan the area and find potential shots where your headlamp might not reach.
The best-case scenario is to have multiple slave flashes spread throughout the shot and paired to your built-in flash. This will result in photos that have more depth and detail compared to forward-facing flashes.
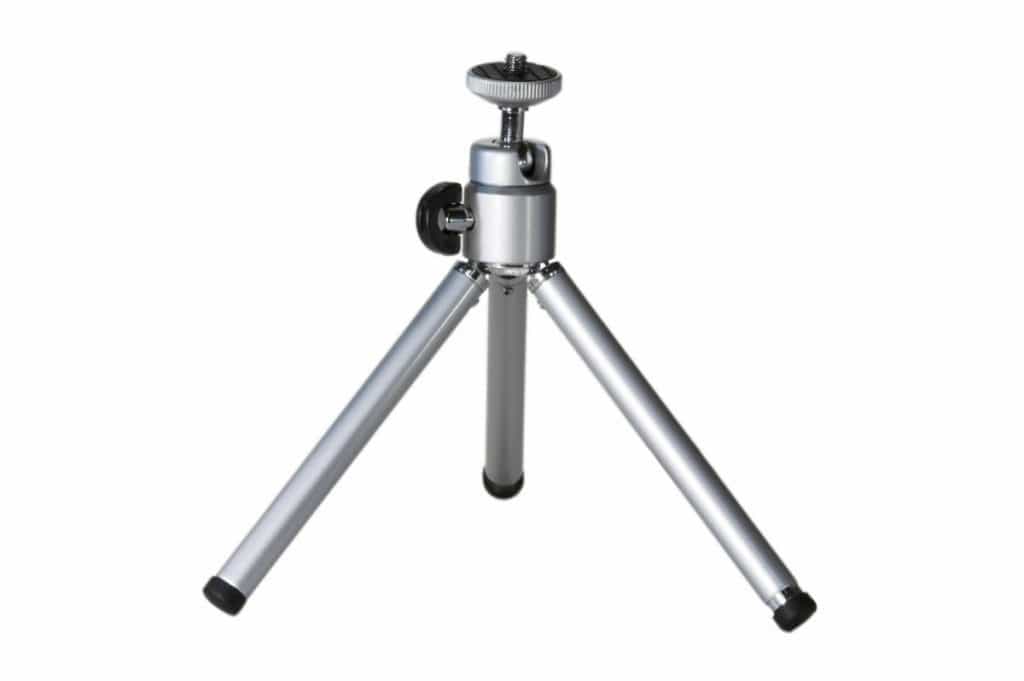
Use A Tripod
Stability will make everything a lot easier, especially in low light. But you can’t crawl around with a large tripod in most caves, so you need to get something smaller like these on amazon.com. You need a tripod if you’re planning to shoot with a long exposure that lasts 5 to 15 seconds because the camera can’t be moved during that time.
Using long exposure times will allow you to paint the scene with light (light painting) as I’ll explain further below.
To avoid motion blur, use the camera’s self-timer or remote.
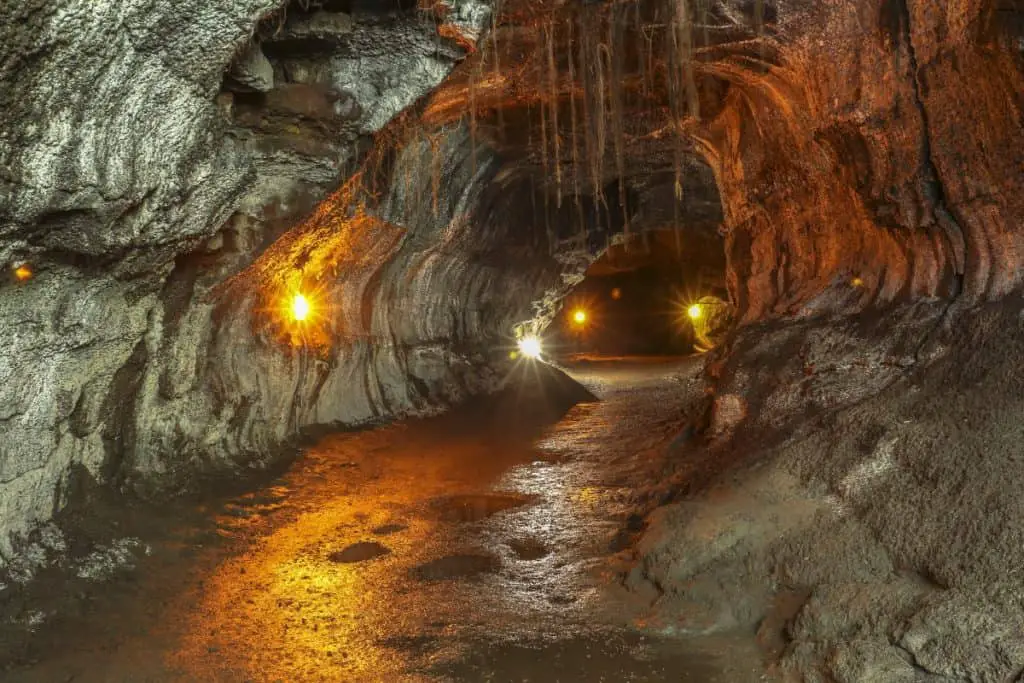
Look For Natural Lighting
Look for opportunities to use natural lighting because it’s always better than artificial light if you use it right. Cave windows are great and depending on which direction they’re facing, you could capture a sunset or sunrise.
Skylights are very popular among caving photographers for good reason. When sunlight shines into a cave, the contrast between the darkness is so strong the light itself becomes one of the photo’s main features.
A powerful beam of light shooting through the ceiling and lighting the cave is quite spectacular in person and it gives photographers a lot of options as it moves across the room throughout the day.
Time lapses of skylights are great if you have the time to spend taking them. Here’s an example.
Use Manual Focus
There isn’t much light in a cave for auto-focus, so adjust the focus in manual, shoot, review, and repeat if necessary. If you leave autofocus on, the camera will adjust to anything it spots near or far, so it’s best to work with manual.
Open The Aperture
You’ll need to open the aperture as much as possible to let the most amount of light through. This is the primary method of increasing exposure. Reduce the f value to its minimum, mine goes to f1.8. The lower this value, the wider the aperture to allow more light in.
This takes for granted that you’re in a very dark area of the cave. In lighter areas like entrances, you won’t need to increase the aperture to its extreme.
Adjust The Shutter Speed
To avoid blur, adjust the shutter speed as close to 1% of the focal length as possible. For example, if I have a focal length of 100mm adjust your shutter speed to 1/100th of a second. A shutter speed of 2/100th of a second works well with a focal length of 200mm and so on. This will result in sharp images in low-light environments.
In brighter environments, a shutter speed of 1 and a focal length of 200mm works well. This would be useful for taking photos out of cave windows.
If you’re taking a photo of things in motion, such as people or water, you need to set the shutter speed to 1/30th of a second to avoid blurring.
For long exposure times, like 1/8th (10 seconds), you have to use a tripod to keep the camera still. Exposing the sensor to light for a long time is one way to increase the exposure without adding noise.
How To Get The Right Exposure
A wide aperture of f1.8 and a slow shutter speed of at least 5 seconds will give you the right exposure in a dark cave. Focus on the object and increase the ISO to make it bright enough for you to see. The ISO doesn’t affect the exposure, it increases the brightness of the photo with less noise than increasing brightness in post-processing.
If there isn’t enough light in the area, you’ll have to deal with any noise in post-processing by darkening the photo.
You should also work your way through a range of different ISO values, from 100 to 800 for example, and then evaluate the results afterward.
Take Photos Of Commercial Caves
There are hundreds of caves that are commercialized to where they have lighting and footpaths inside. This gives you the best opportunity to take some perfectly lit photos of the underground. Some officials might not allow photography but in most cases, there won’t be a problem.
Don’t Use Your Main Camera
Considering the amount of humidity inside caves, your camera is probably going to get some moisture inside. If you have an older more rugged camera, consider taking it to avoid physical or liquid damage on your main camera.
If you don’t have a secondary camera, make sure you protect the one you have by getting a protective case.
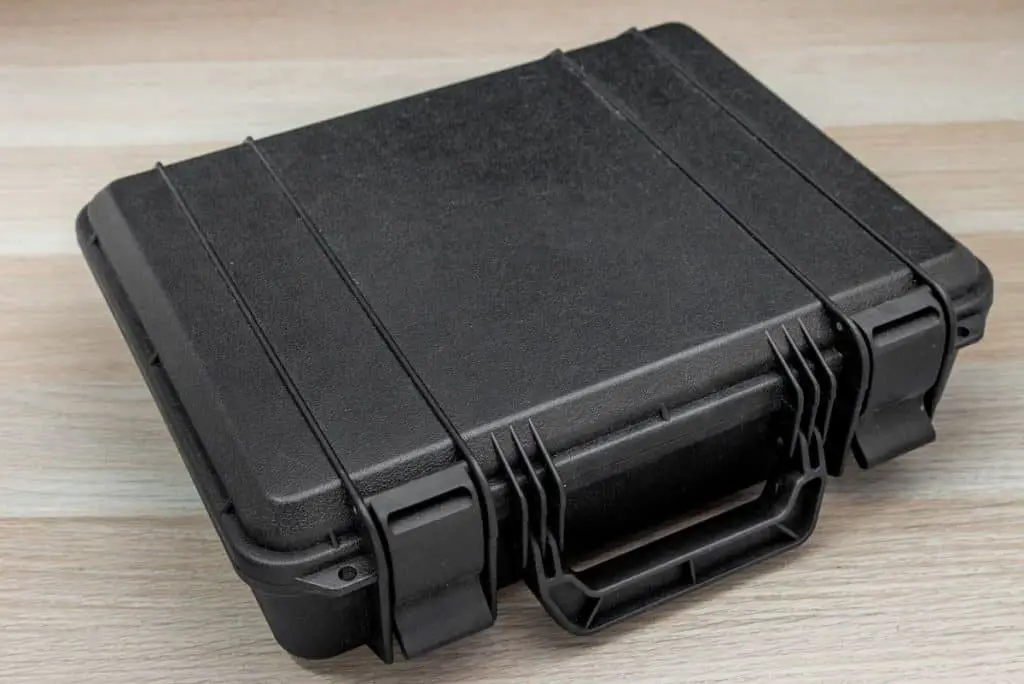
Use Heavy Duty Camera Case
You’ll need a strong camera case inside a cave because if you have your camera dangling around your neck while you’re crawling through small spaces, you’re going to destroy it. A camera case like this one on amazon.com is what I recommend unless you’re only going to be walking through the cave. There are plenty of commercial caves that have tours comprising walking only, in that case, strapping it around your neck is fine. Also, find out if they permit tripods before taking one along. Some commercial caves don’t allow them because it holds up the tours.
Leather cases like these are also useful for protecting your gear. You can lose your footing easily in a cave, from unseen rocks to slippery surfaces. There are many hazards, especially when your focus is on taking a good photo.
Take Extra Batteries
To avoid running out of power before the exploration is over, take at least one extra battery with you. Taking shots with long exposure will drain your batteries in no time. You’ll also need to preview and re-shoot more often than well-lit environments.
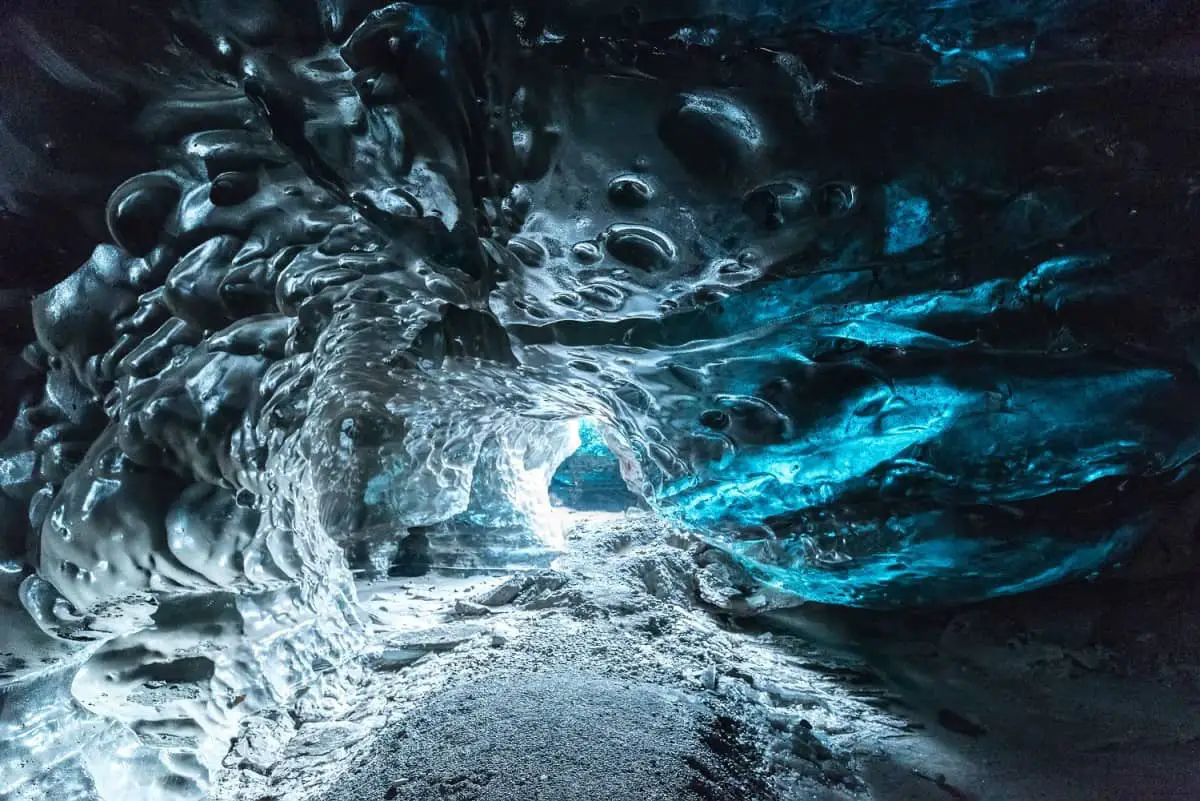
How To Photograph Ice Caves
Use an aperture between f/11-16 with full-frame cameras. This works well in lighter areas of the ice cave. In darker areas, a lower aperture of around f/4 may be more appropriate, if your camera doesn’t open that wide, set it to the lowest value possible. An ISO of 100 to 400 works well in most low-lit areas and should provide smooth images, especially if you use a tripod.
Shutter speeds between 5 and 20 seconds will expose the sensor to any light for long enough to soak up any light the scene offers.
Cave Photography Ideas
Light Painting
Light painting is when you switch your camera to manual mode, set the ISO to around 150, aperture to f/11, and shutter speed to over 10 seconds. While the camera is capturing the shot within the shutter’s time frame, you need to light up different areas to add them to the picture.
A tripod makes things easier but if you can’t squeeze one into the load out, any steady surface will do. If you rest the camera on a rock, use a cloth or something similar to stabilize and protect it.
Set the focus before taking the shot or you might end up with an entirely blurry picture.
To avoid bright trails of light in the photo, keep the light source pointed away from the lens while moving around.
Let the darkness be a part of the picture
If there isn’t enough light to fill an entire frame, let the darkness be part of the picture. I like to include the darkness in my caving photos because it’s part of what a cave is. To avoid noise in your photos, lower that ISO until any dark areas are black.
Of course, you can also decrease the brightness of the photo in post, which will also reduce noise, but I find I lose less detail if I rather lower the ISO during the shoot.
Light From Behind
Lighting up the subject from behind or the side makes for good-looking photos for a couple of reasons. First, it works well because the subject blocks light from going directly into the lens while still lighting the surroundings. Second, the light shining from the back creates a frame around the subject, a glowing effect.
This is one of those times where the built-on flash might be useful to partially illuminate everything in front of the camera. This will eliminate the silhouette effect, so you should experiment with, and without, the built-on flash.
Look for the little things
Don’t forget to look for tiny details within the cave, like small life-forms stuck to the walls or shiny pebbles that have been polished by water over thousands of years. Get up close with your camera and get creative with different lighting angles.
In Summary
Caves offer more than you can imagine in terms of stunning photography. Once you enter a cave, you realize how different it is from everything else. Capture the aspects that make caves unique. Take as much extra lighting as possible because the rocks won’t be reflecting much of it around the room.
The two most important settings that affect exposure are aperture and shutter speed. The aperture determines how wide the opening in a lens opens to let light in and the shutter speed determines how long it stays open. So decrease the aperture to the lowest value and use long shutter times in dark caves.
If you get those two settings right, you can fix almost anything else in post-processing. Just don’t forget to get the focus right before shooting.
Light painting is a lot of fun, especially once you’ve taken a few shots to figure it out properly. A cave is a perfect environment to try it out. But you probably will need extra batteries for this sort of thing.
If it’s your first time in a cave and crawling is involved, you shouldn’t take your camera with you. Rather, make the trip and see what it’s all about before handicapping yourself with a camera. Alternatively, you could just find a walking tour and go for that one instead without much risk to the camera.
When you’re ready to get started caving, be sure to read my Beginners Guide and check out my recommended gear section.